Slide 1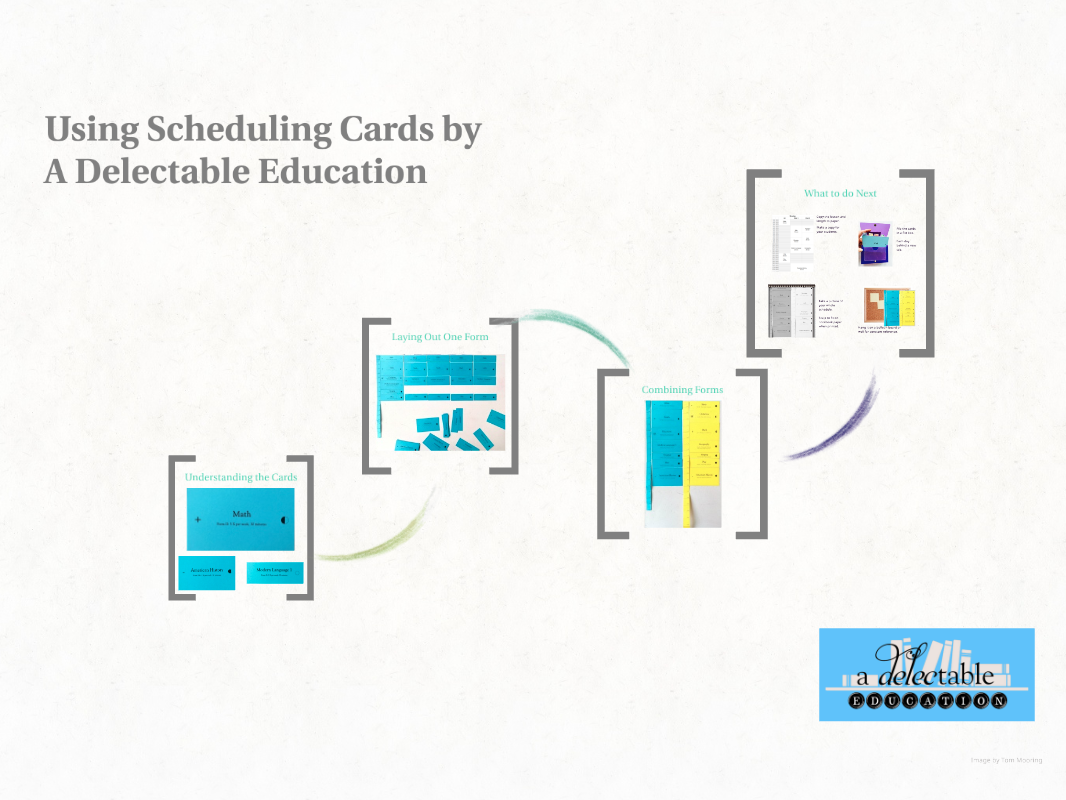
The three of us at A Delectable Education have developed a brand new tool to help you create a schedule for your school day. We call them Scheduling Cards. We hope these cards will help you clarify how many lessons your children need at each level and how to coordinate both the time spent and their brain activity. In this video, I will show you what the cards look like and how they work.
Slide 2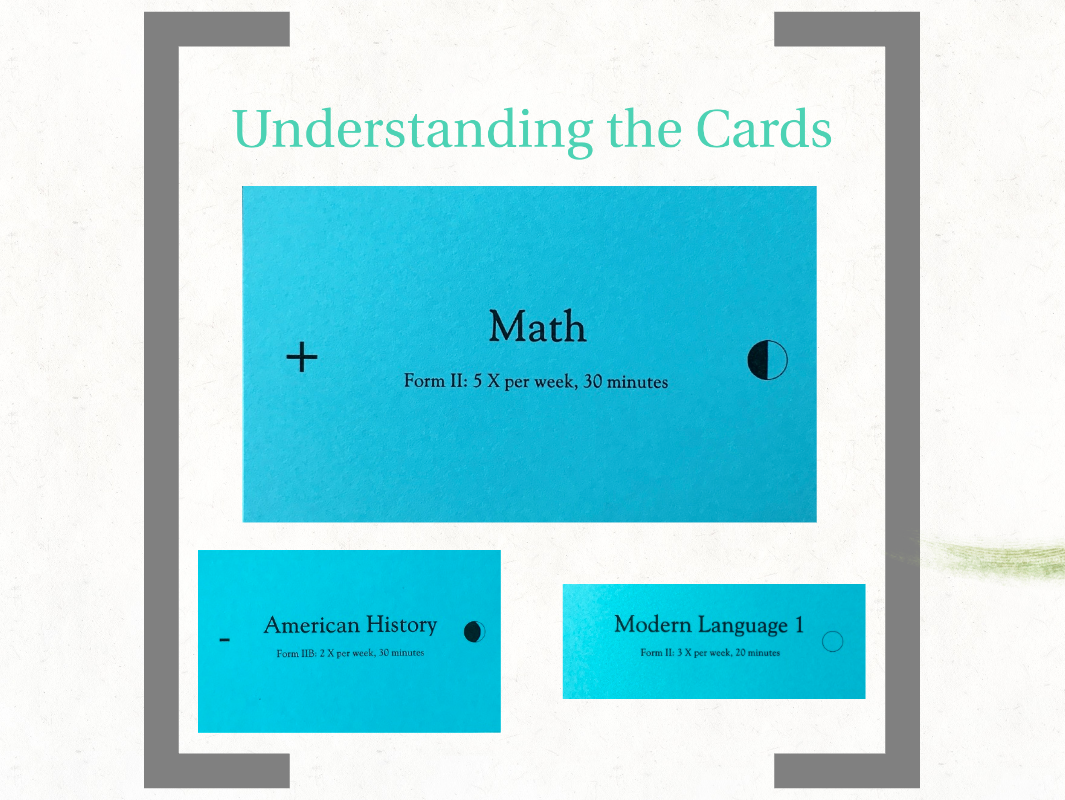
First, let’s look at an individual card.
Slide 3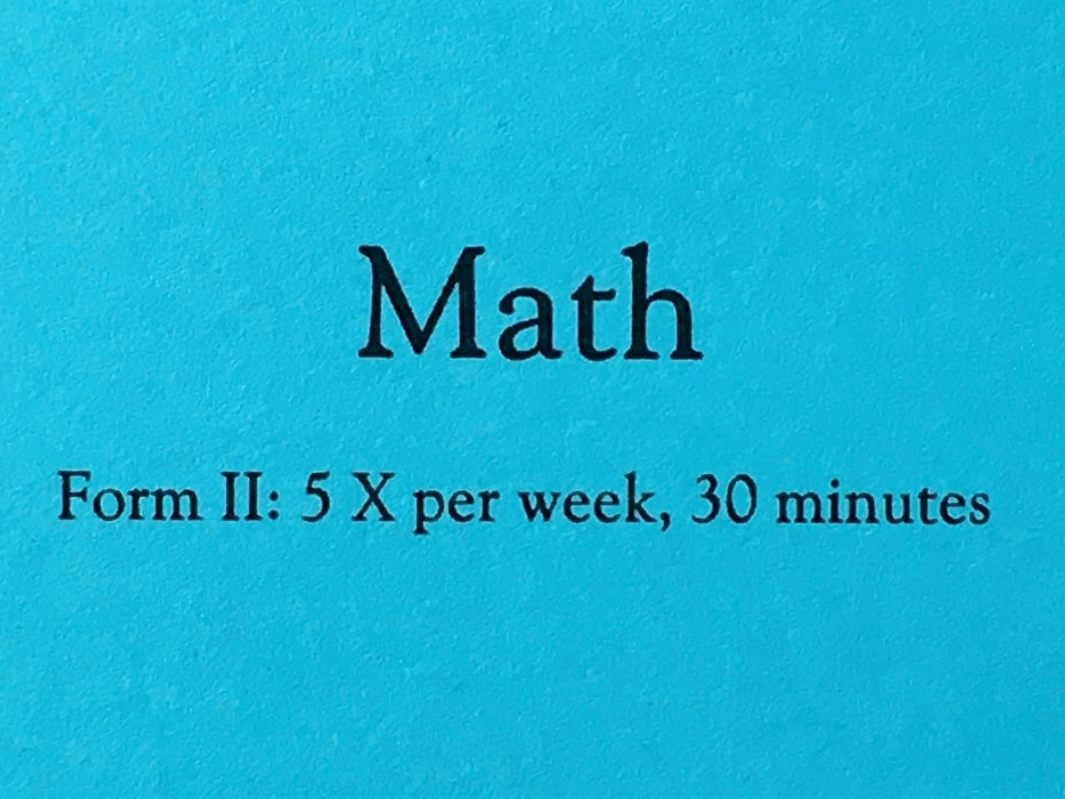
Each card has a title, which indicates the subject it is for. Some subjects include multiple books, such as an Upper-Level Citizenship card, which would cover both Ourselves and Plutarch’s Lives. The form level is indicated on the card as well, and if the card is particular to a form (A or B), it will be noted here. Also, the amount of days per week and the time spent during each lesson is noted on the face of the card.
Slide 4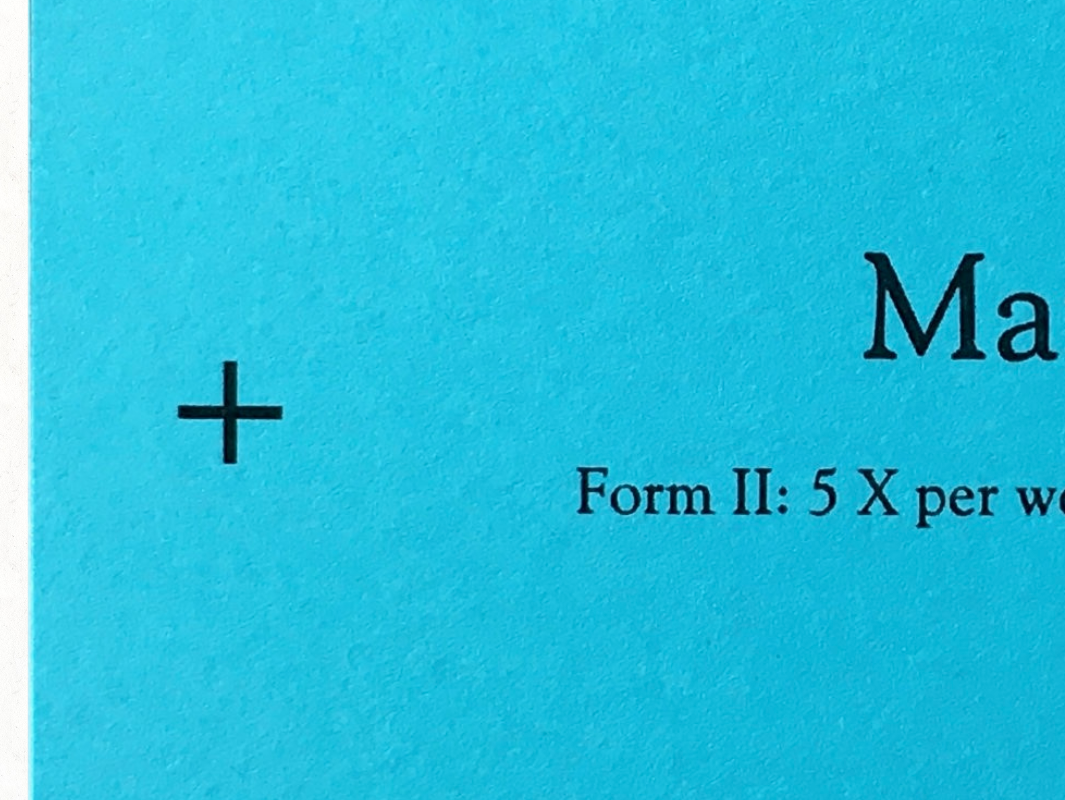
On the left of some of the cards is a symbol. This symbol signifies which part of the brain is engaged in a specific lesson. We won’t expand on this, but just remember not to put two activities with the same symbol back to back. Charlotte Mason warns us that we must vary the lessons so as not to fatigue the child.
Slide 5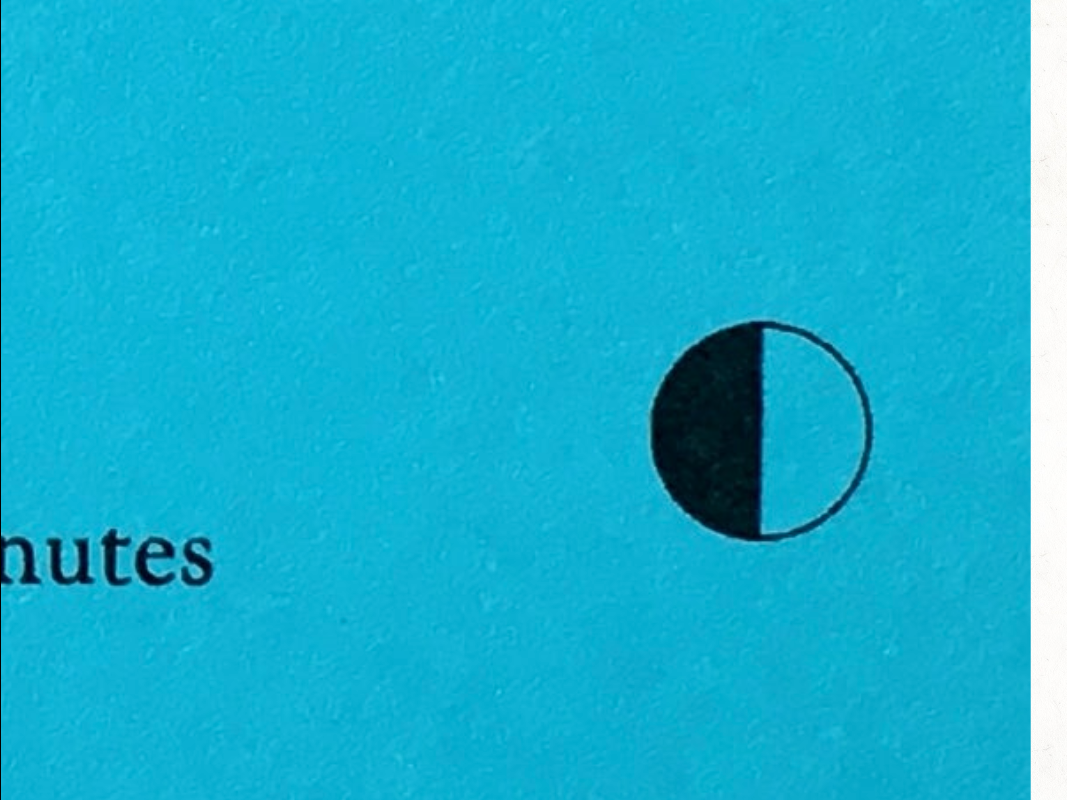
On the right-hand side of the card is another symbol. This is what we refer to as the “phases of the moon” symbol. This one indicates how much involvement will be required from a parent for each lesson. Subjects with a full moon will require a parent’s full attention during the whole lesson.
A half-moon indicates that some attention will be needed; maybe the parent will need to start the child off and then they can continue independently, or maybe the parent needs to sit next to them during the whole lesson so that the child can ask for help when they need it, but they can also be giving attention, off and on, to another child.
A crescent moon indicates that this is a task requiring masterly inactivity, which means that a parent needs to keep an eye on the child, but the child should be able to do the subject independently. Of course, this symbol is a guideline only, and you have to go with where your child is at. For instance, if your fourth grader is not able to read independently yet, then their lessons will need to be more full moons, even if the card indicates a crescent moon.
Slide 6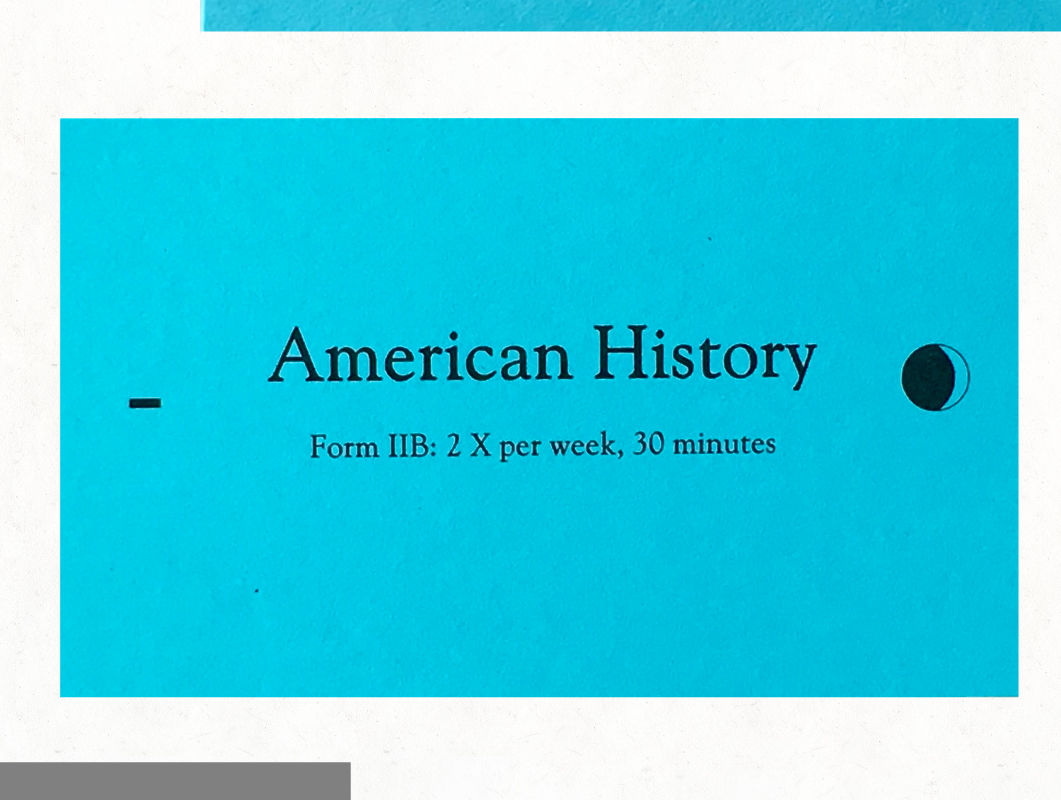
Here is another example. This card is for an American History lesson. You see that it has a different symbol signifying the brain activity. So it would be fine to put this one right after the math lesson we just looked at. The crescent moon indicates that a student should do the work of this lesson independently. Of course, keep in mind that other children may be in the same room, also working independently on their history lesson.
Slide 7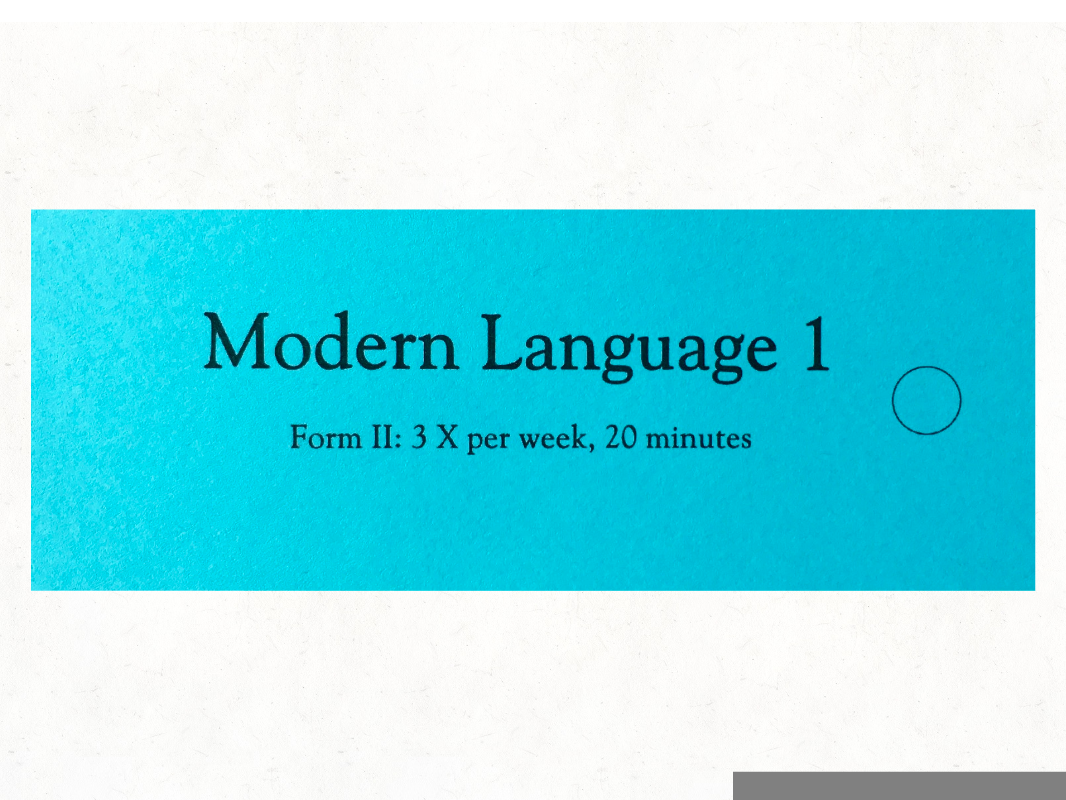
This card is for the Modern Language lesson. You see that it has a full moon. Also, note that there are cards included for each lesson to be done in a week. This card indicates that Modern Language should be done three times a week for 20 minutes, so your pack of cards would include three cards that look identical to this one. You might also have noticed that this card seems a bit shorter than the previous cards did.
Slide 8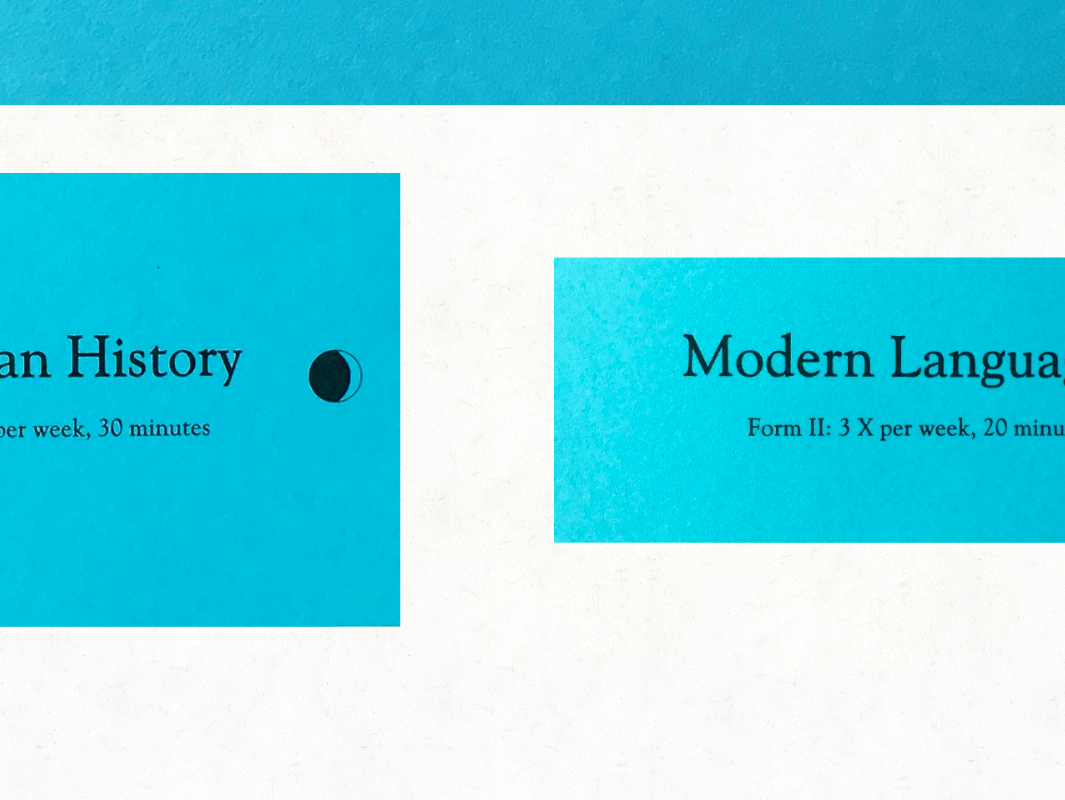
In fact, each card is scaled to reflect the overall length of the time needed to do that day’s lesson. A timeline is included, which shows the entire length of the morning lesson. So, when the cards are placed one after the other, you can quickly see if the maximum morning lesson time is being exceeded.
Slide 9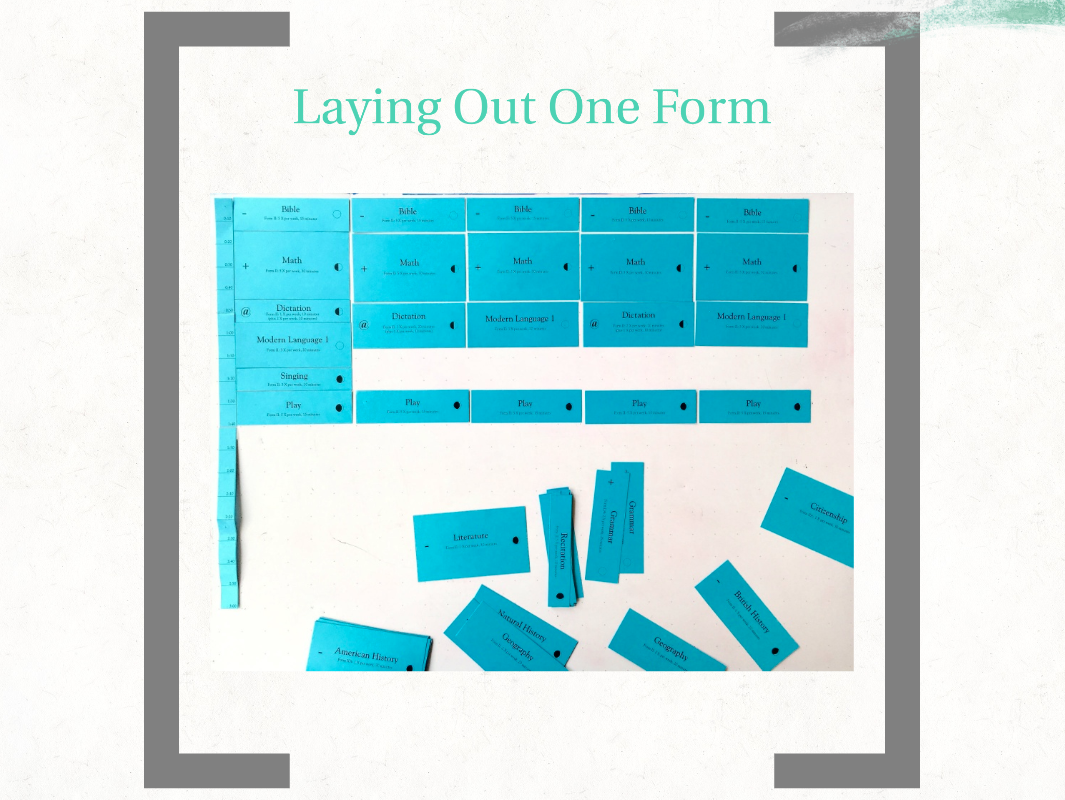
Now that you understand the individual cards, let’s look at how to layout a schedule. You can see in this example that I’ve laid my timeline on the left-hand side and then placed some of my 5 days a week subjects across the top.
Slide 10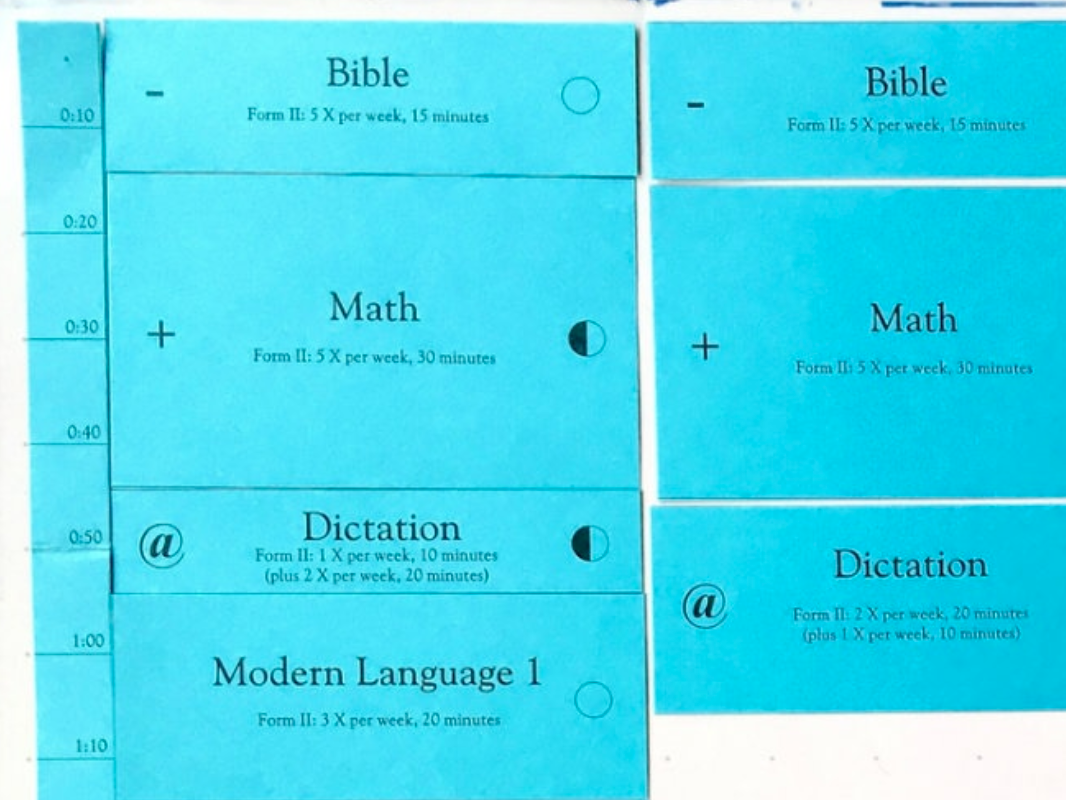
Not all lessons every day will be the same, so I have to work with it, a little like a puzzle.
Slide 11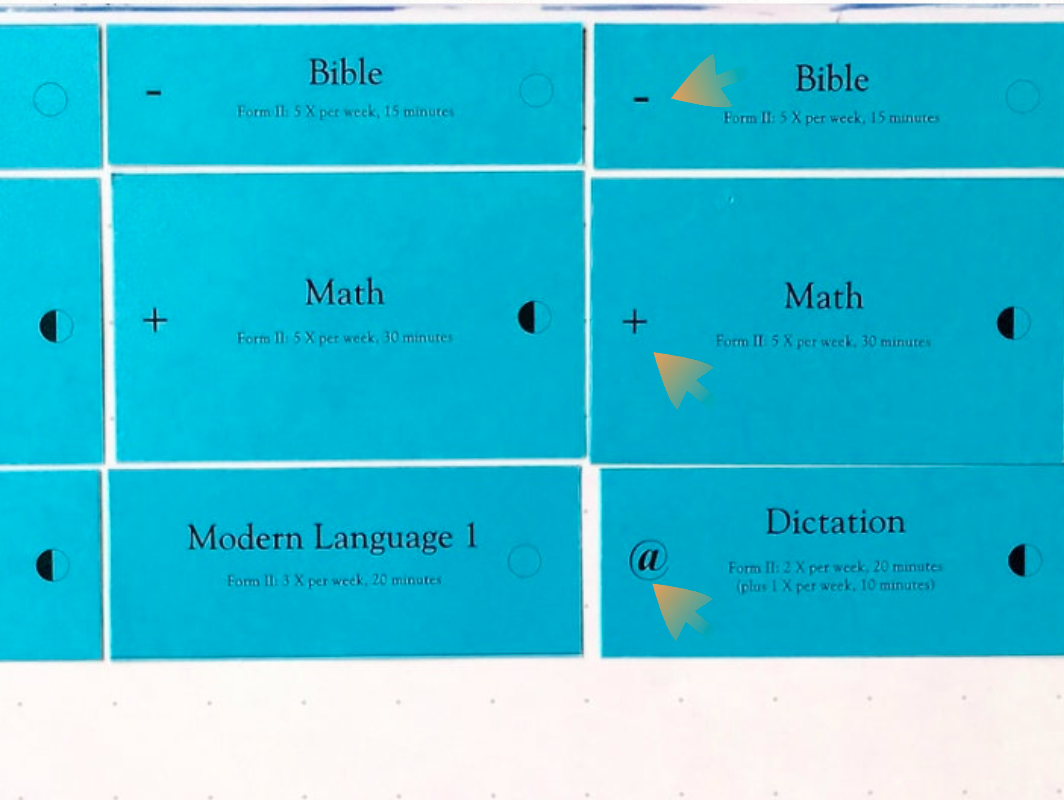
I will also have to keep going back and checking that I never have two like symbols next to each other on a given day.
Slide 12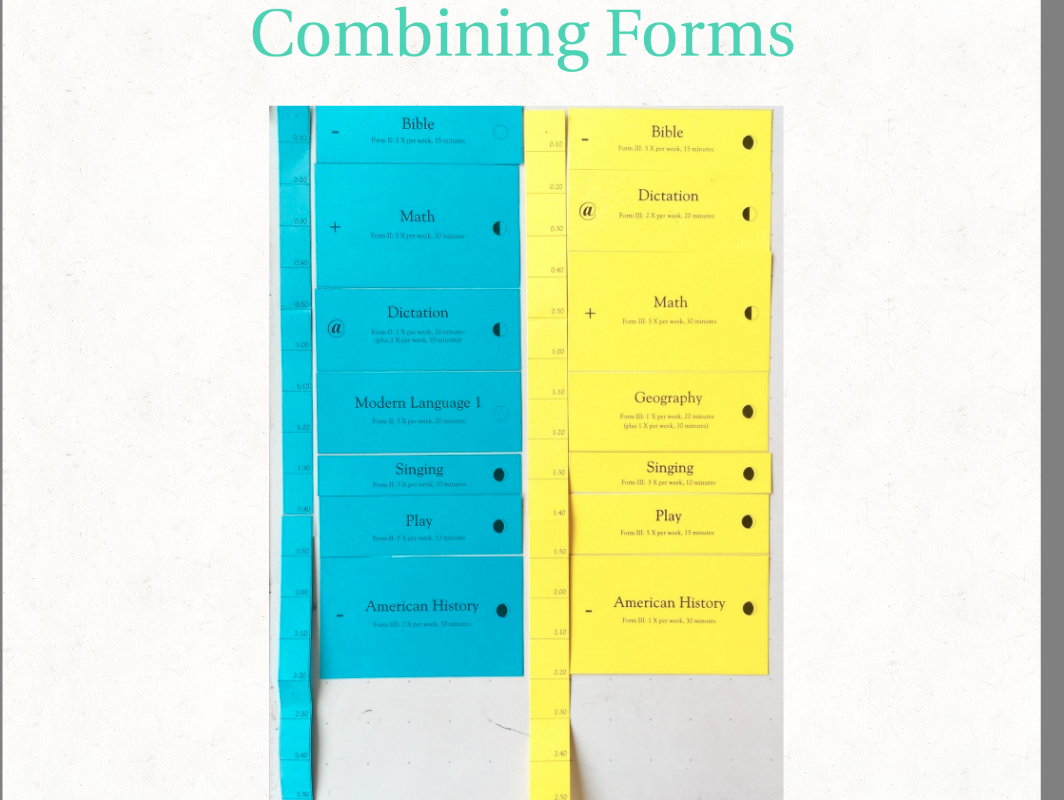
Adding another form (another child) is easier when I have these cards in front of me.
Slide 13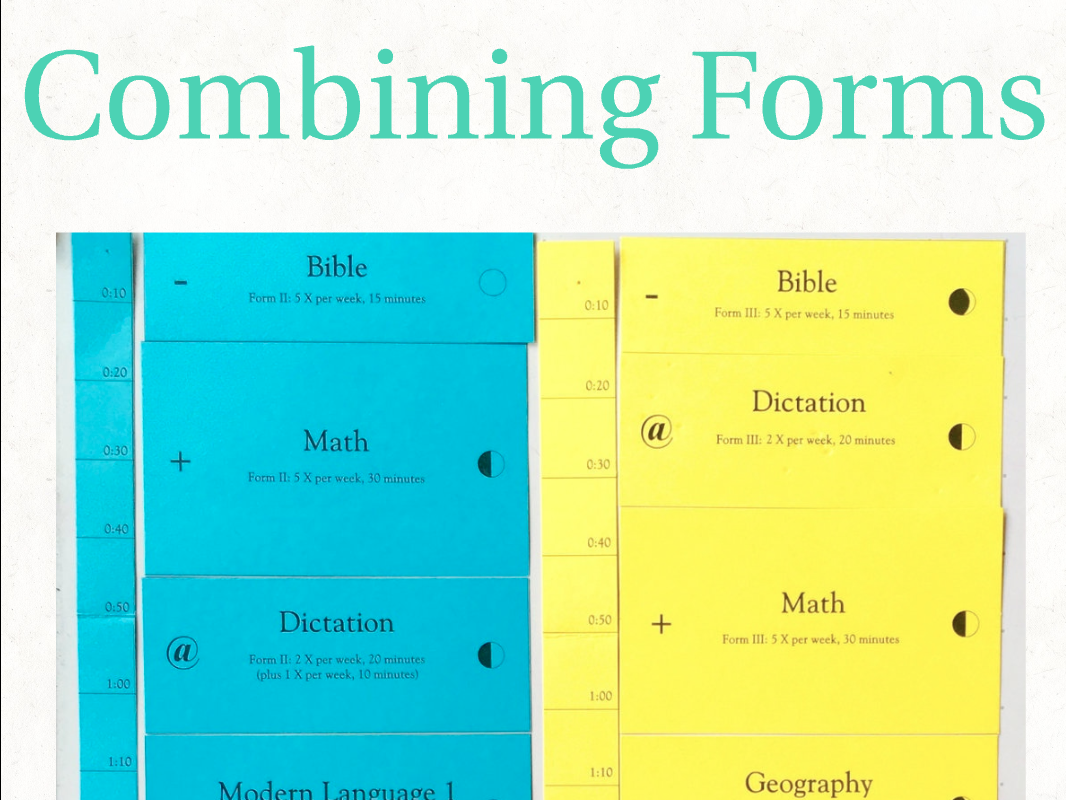
In this example, I have the children starting out doing something together: their Bible lesson. But after that, I’m going to consider the phases of the moon symbol to make sure that I don’t double-book myself. I will have my youngest child start with math. As I’m getting him going, my older child can study his dictation. Soon enough, my youngest child will be doing some practice problems independently, at which time I can turn back to my older child and read his dictation to him. After he’s done, I will get him started with math. Again, eventually, he’ll be working independently on practice problems, and I can turn back to my youngest child, who has been studying his dictation for a few minutes and work with him.
Slide 14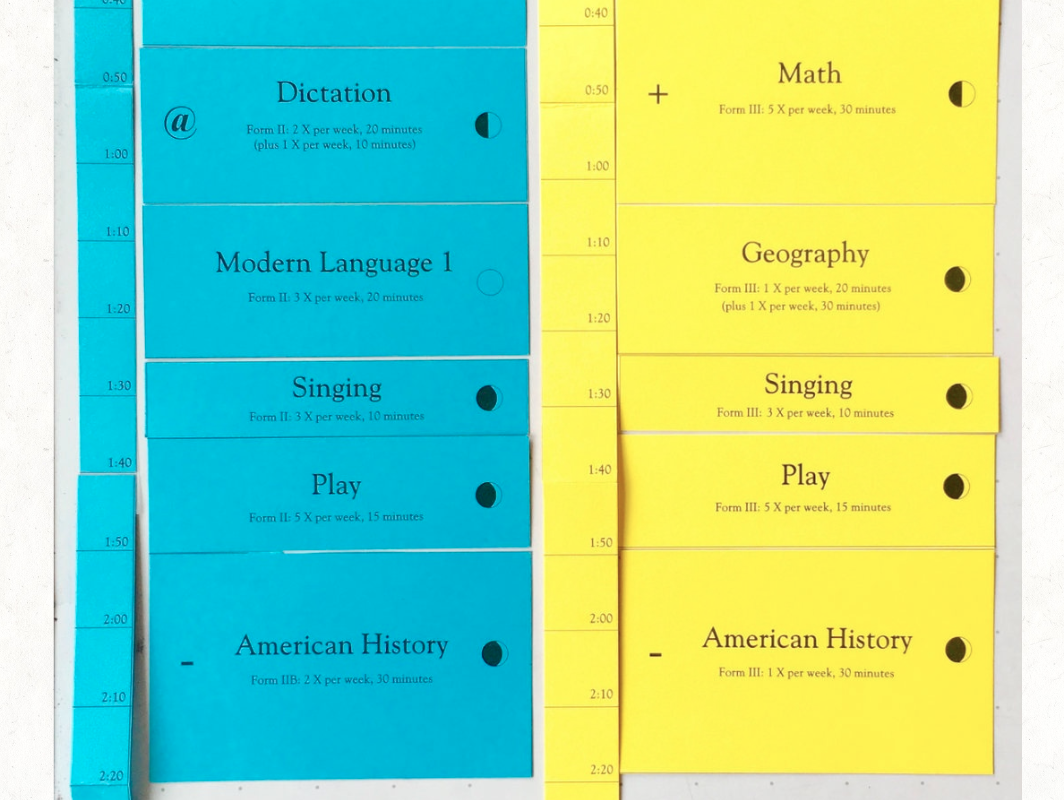
After that, I’m going to work one-on-one with my youngest child for a Modern Language lesson. When my older child, who’s in a different place in his language lessons, is going to work independently on his geography lesson. After that, we will sing together, and then have a quick playtime as a break. Once we resume, each child will work independently on his history lesson, while maybe I’ll read my own.
Slide 15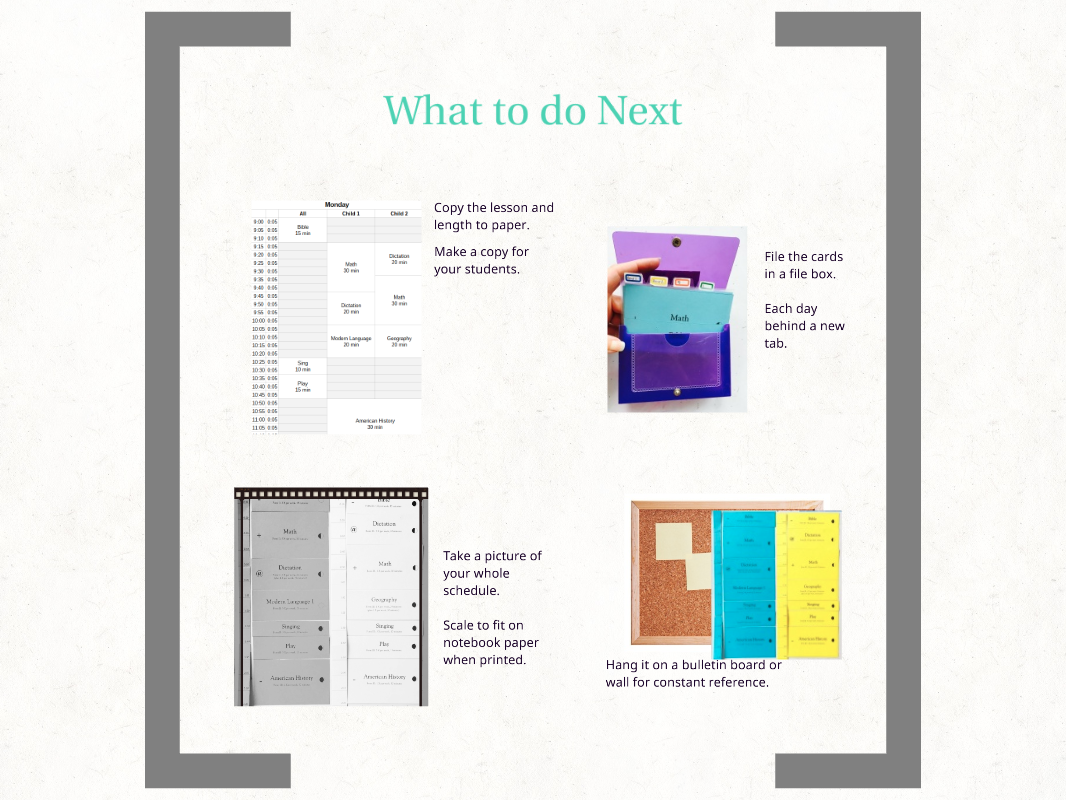
Once you get all of your cards laid out in a fashion that you are comfortable with, what do you do with them?
Slide 16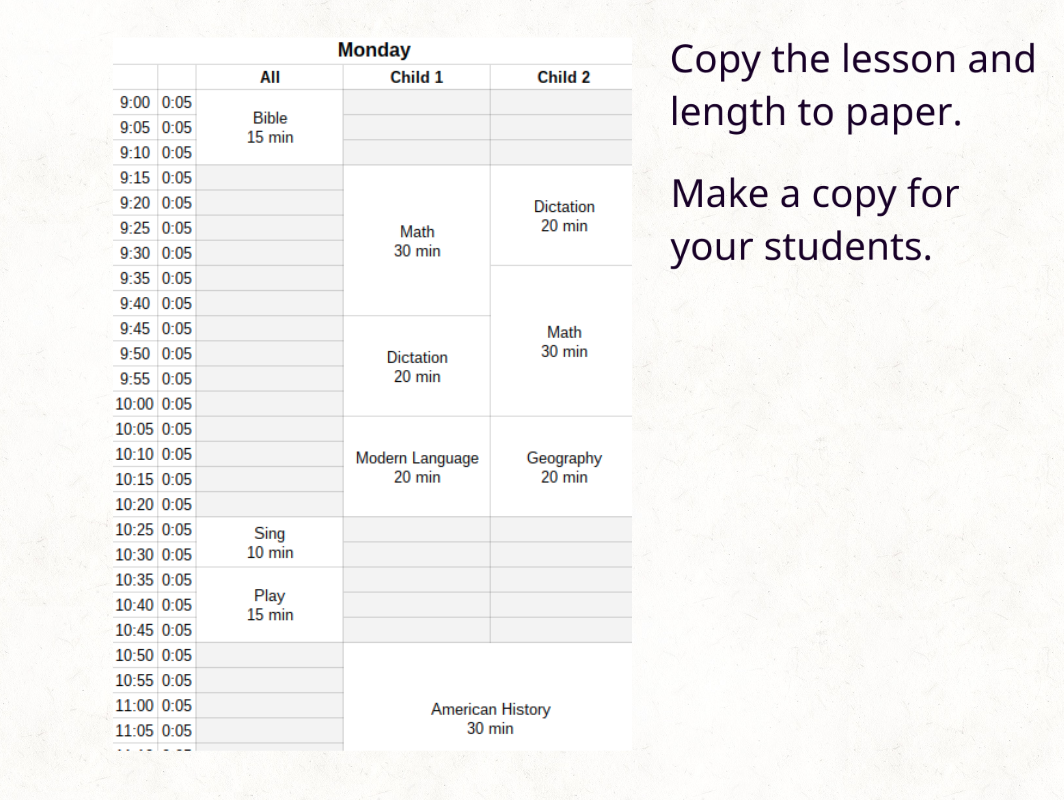
I personally copy all of the lessons and times to a piece of paper, either by hand or on the computer.
Slide 17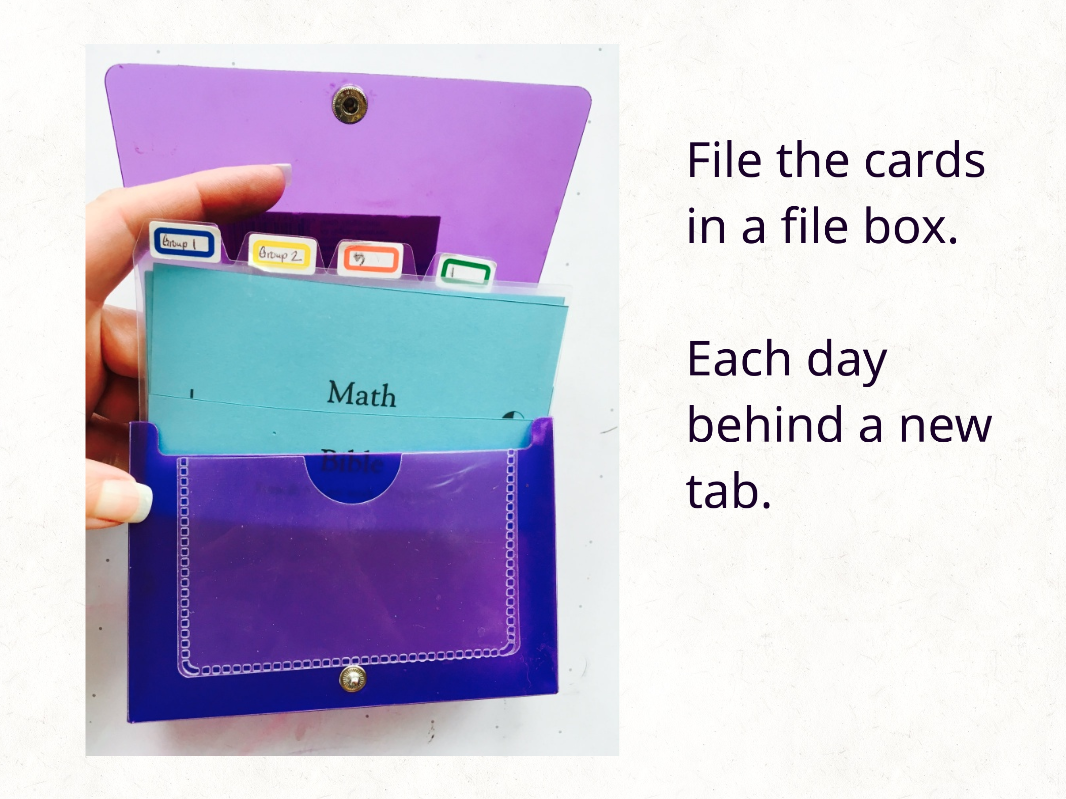
Another idea is to use a file box. You can file each day’s cards behind a tab or have separate tabs for each child.
Slide 18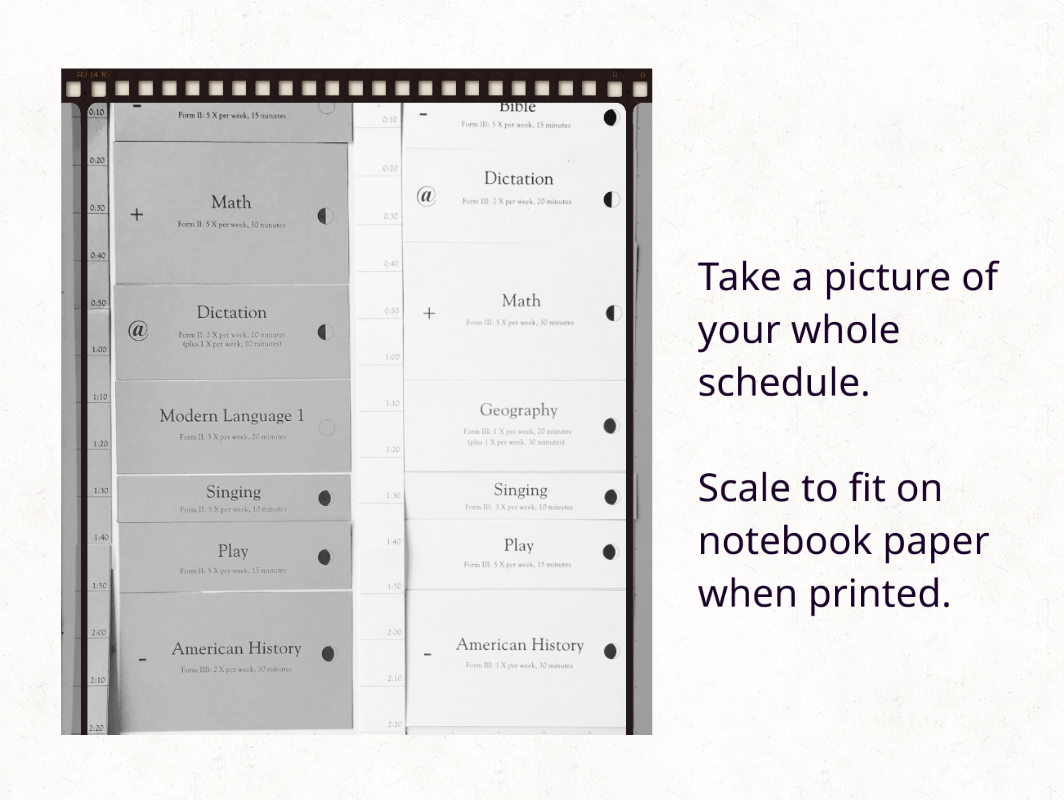
You might also like the idea of taking a picture of your entire schedule, scaling it to fit on a notebook paper, and printing it out. You could print out a whole week this way, or even one day at a time.
Slide 19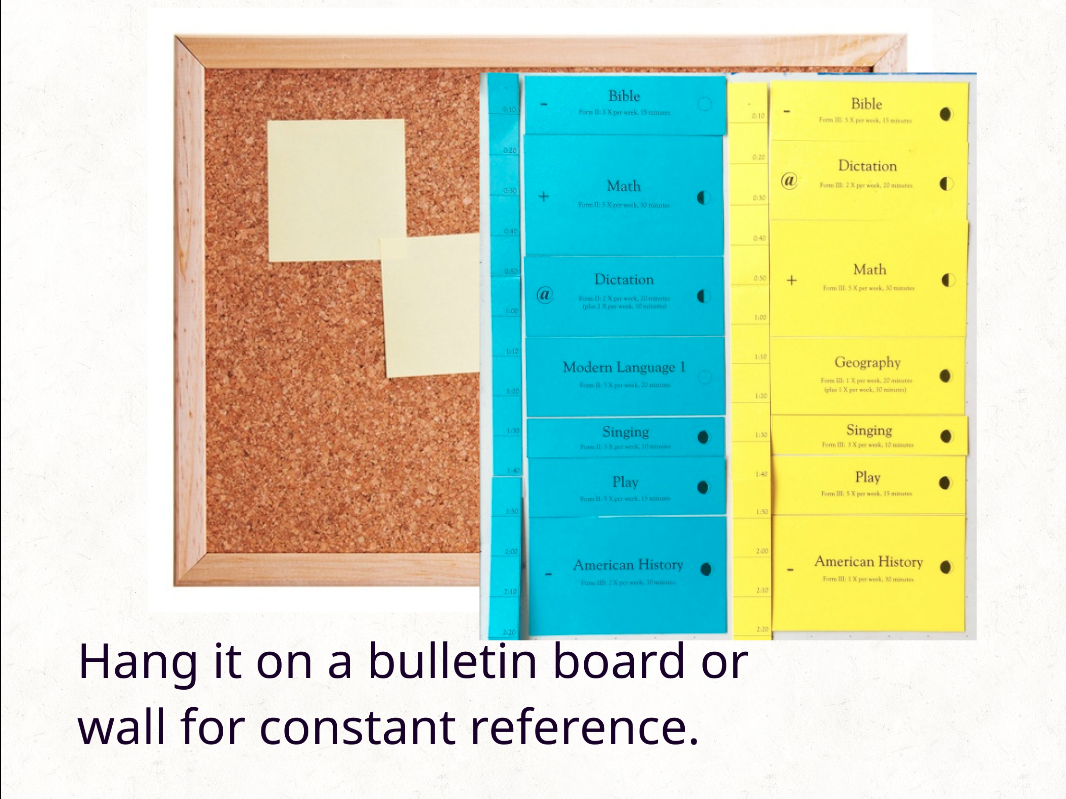
Lastly, if you have space, you might want to leave the whole thing hung up on a bulletin board or a wall for constant reference.
Slide 20
The three of us are delighted to offer these schedule cards to you, and we hope they will help your family develop a schedule that works with your unique circumstances.
